Showing posts with label DIY. Show all posts

8.6.11

Adorable totoro plush: How To

I was bored and I wanted to make a plush, so I made a pattern for a Totoro plush.
This little guy is what came out of my random spurt of creativity. So if you wanna make him, here's the materials:
-A needle and thread
-Grey felt
-White felt
-Glue for cloth
-black paint for cloth, or acrylic paint
- green felt (optional)
- stuffing for plushies(or you can use the scraps of what you just made, which is what i did today)
-Scissors

SO, where do you start? 
Well I started by making a paper pattern, and using it to cut the felt. Here it is:

Click to enlarge

Using this, I cut out all of the felt pieces I needed (pictured up there with the materials). The first thing I did was make the ears, to do this you have to take the glue, smear it on one side of the ear and then roll it up, letting it glue together. the little tabs on the pattern let you stitch
it and sew it into the body. Here are a few pics of what I mean:

Roll up
Put glue on

I glued them to the body to hold them while I sew
Once you are done with that you can start sewing. Now the stitch I'm using, well, I'm certain it has a name, but I do not know it, so Ill show you how to do it as best I can, and hopefully you'll understand.

Now you start with a basic stitch, but just as you are about to pull through, instead of going through completely, you slip you needle through it, as if to make a knot. You pull and go to the next one. So basically you keep going through it, making a knot with each stitch. It makes a pretty edge and allows  you to sew without having to turn anything inside out.


The tail; I wasnt worried about the stitch showing.


Once you are done with the body you stuff it and sew on the little bottom. Next you sew on the arms and the tail and finally the belly.
Use the glue to glue on the eyes  and leaf on the head and then use the black paint to make his nose and eyes.

And there! you're done :D
Now mind you written down this seems very simple. In reality it will take you a little while and lots of things change. For example the bottom of the pattern that I originally made got shortened because once the plush was full I noticed the size changed.   

See, he loves you~


30.4.11

Do it Yourself~

I have been doing Do It Yourself projects for a long time. I love the idea of wanting something, working on it, and then enjoying the results. When you work on a project its your love child, you search how to do it, what are the best materials, the best design, how to customize it... how to make it yours. Now I never would have gotten into DIY if it weren't for a cool website called Instructables. This is a website where you can post your DIY project, but now just show to show them off, but to show people how to make them.
As you sure the website you find things as simple as Mother's Day cards, cupcake recipes, or a simple how to sew; but you can also find things as complicated as arudino, House building, grill making, metal smithing, wood carving, solar power,.. ect 
Not exactly like this....


Its a lot, but fortunately they have things divided into handy categories:
-Food
-Living
-Outside
-Play 
-Technology
-Workshop

All of these are pretty self explanatory, food for recipes, living for house hold projects and kid projects, living for projects to better your life, outside project, play for games and game modifications, technology for tech stuff, and workshop for more crafted instructables. Each one has its own subdivisions, so i suggest you go explore for a while! 
Don't take it too far...
Now, as I sadi earlier, this website got me started on DIY projects, so I rounded up some simple projects for you to try and see if you like it... 

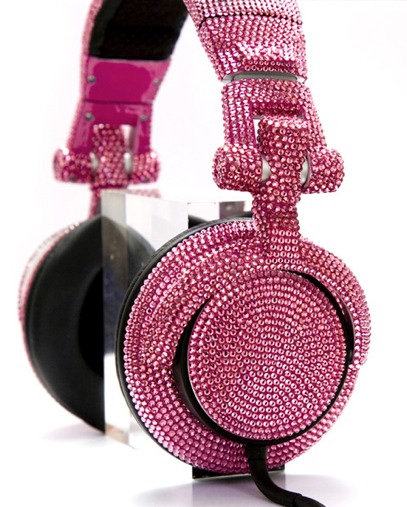
1) Customizing Headphones {these are links by the way...}
This is an example of one of the simpler instructables, it shows you how to take something like your headphones and make them a bit more 'you'. its a nice way to start with DIY, changing things like notebook covers or painting a design on something is a nice way to help you get out of your shell and see that you can make things yours.
2) Secret Candy Dispenser
One of the most important things to look at in an instructable is its materials. Do you have them?  Can you afford to get them? Sure I want to make my house green, but do I have the money for all of the solar panels? This is an example of a simple instructable that uses things you find in the house, while still managing to be really cool~
3) Cheap and Easy iPhone cover
Here's another thing DIY aims to do (aside from please) it aims to give you home-made alternatives. This instructable is just that, an easy and cheap option to something that's pretty expensive on the market.
And can be a bit useful...

4) Origami Envelope
This instructable shows you how to add a personal touch to something you're gonna send to someone else. Its an extra feature to make sure you a remembered, its also a very nice way to save paper and look cool doing it.
5) Altoids Tin Watercolors
I come prepared..
In the strange world of DIY altoids tins are an oddly prized possession. They are sturdy and well made, the perfect size to carry along with you, and INCREDIBLY versatile, to the point of almost being a sin. From flashlights to survival kits, you can look up entire pages worth of altoid related instructables.  This one teaches you how to make a portable watercolor kit for an altoids box, but really its just a great example on how versatile they can be.


6) Make Your Own Sketchbook
Well, youve got some watercolors, so why not a sketchbook. There are many different options on how to make sketchbooks, I picked this one randomly, but you can go looking for a better one. Once more you are using things you have at home to make something that is completely yours.
7) Keyboard Long Cat
Since you've obviously been reading this entire post, then your hands have definitely been on that computer for too long, its probably hurting by now, so why not make a little comfy kitty to lay your arms on? This instructable requires you to go buy some things, but its a cute an easy project to do and it gives you a handy item as well. You can take this design and customize it too. Don't like cats? Change the face and tail and make a dog, or a bunny! its really all up to you.
One day he'll be long enough..

8) Bath Bombs
Youve been working so hard on all of these projects, why not reward yourself with a warm bath and some fizzy bath bombs to add aroma and fun to your otherwise boring bathing situation?  I <3 Bath bombs. They are fun and cool and this tell you how to make them, and I think that's epic.

Now, another thing that really helped me figure out where to get started were the guides. Sometimes there are topics that are so repeated that they choose their favorites and make downloadable guides filled with different instructables. Here's a few that I swear by:
Your robot will never be this cute though...
- Your First Robot
Make your own tiny robot and learn the basics for making more complicated beasts. 
- Origami
Beautiful origami made easy, both fun and functional items to keep you entertained. 
- LED projects
LEDs are the base of so many projects, they're cheap, simple and they are shiny when lit. Whats not to love?
- Pinhole Cameras
Who knew that making pinhole cameras was co easy? go ahead and take a picture with a camera you made yourself!

Now at times all of these options seem too complicated, but look around the website and you'll see that it really has a little something for everyone, adults to kids to cooks to programmers, its all there, and if it isn't make it your self and post it! That is the best part, after a while you aren't limited by what you can or cannot buy, what you can or cannot do. Whatever you want, make it. Even if you don't know how, it teaches you to think outside the box and look for different ways of making things.


13.4.11

DIY, why?


One thing I find somewhat constant recently is that inactivity leads to one of two things: 
1)Useless,which makes me nervous, I need to be doing something, but now I'm too nervous to do anything, thus I am useless [restart cycle here]
or
2) Sleepiness, I'm not doing anything, so I might as well sleep. 
This usually leads to days where instead of studying and working on things I should be working on, I waste time and then sleep, wasting more time. This makes my stress levels higher the next day, but by then ill be too nervous.. and the cycle repeats.

The best way, I find, to combat these feelings of anxiety and percieved uselessness is to entertain myself with seemingly productive projects. The key is this: If I am doing something, anything, it will be easier to start doing truly productive things. This is where my obsession with DIY comes in.
Do It Yourself- 
Pretty big concept, why buy something when it is much more satisfactory to make it ?
My interest in DIY came about a few years ago when I visited a website called Instructables this place changes my existence forever. It is a website where, essentially, people post their projects in steps which you can follow and copy. All materials are posted, even prices at times. The best way to start a project is by seeing someone else who has already succeeded, right? 
If I know it can be done, Ill do it... 
I've made small robots, bags, plushies, you name it...

Right now, for example, I've started a Mario blanket based one this Instructable.
So the first thing I did was design my  blanket, easy right? 
First i decided on the levels i wanted, I'm a gamer, and Mario games hold a special place in my heart, specifically Super mario, it reminds me of all of the random afternoons that I spent with friends, wasting time and playing this, even though we had epic Wii games we could be playing.

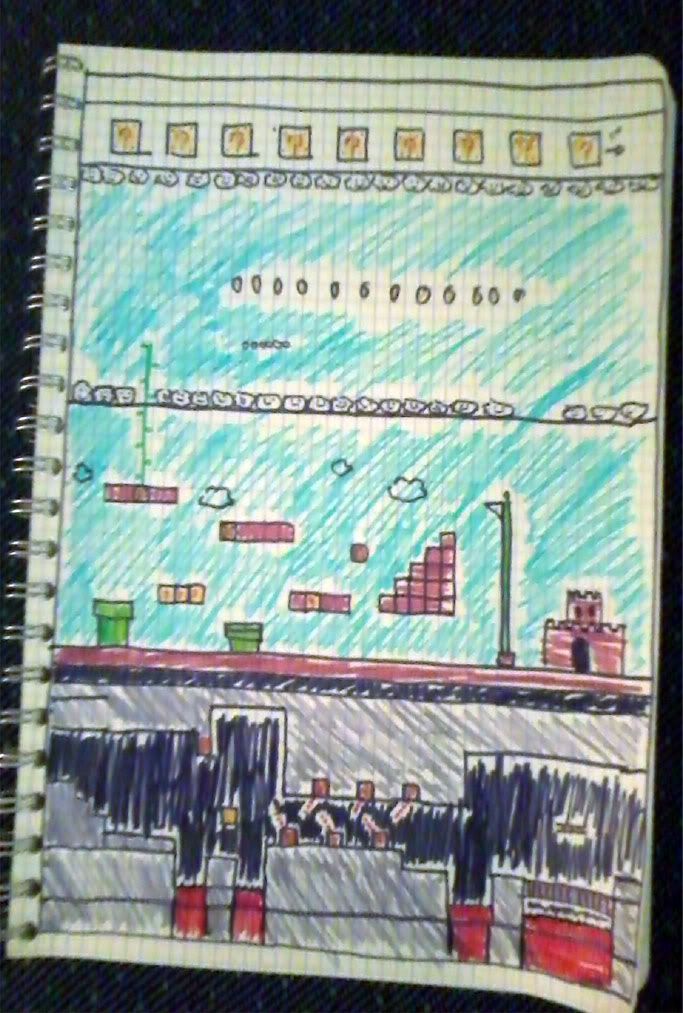
Sohere is my design:
A condensed World 1, a cloud bonus world, and a dungeon compete with bowser fighting platform.

I made this on graph paper for a reason too, 40" by 54", leaving me enough space to add some [?] boxes at the top to act as pockets for the cross stick character and felt coins.


So now the next thing i need is the materials, I went to Jo Anns and spent about 50$ on this project:
-Light blue fleece 
-Black fleece
-Grey fleece (backing)
- grey, red, brown, white, green, yellow, and gold felt
- fabric paint
- long green zipper
- yarn
- puffballs 
-thread: white, black, brown

Yay! level!
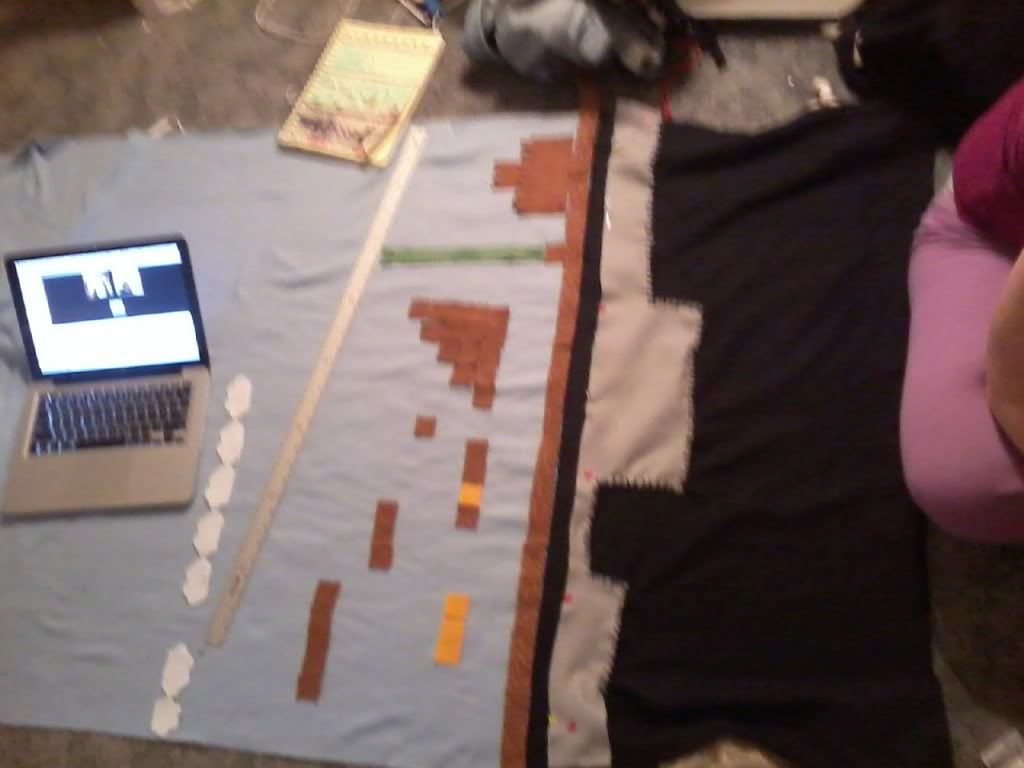
I got home and I got to work! I began by sewing the background, the blue to the black, and cutting the black to the appropriate measurements.
I then cut and sewed the top of the dungeon ( I wanted the level divisions in first). After, I began to cut out and arrange everything needed for a lovely blanket.
And then I started to sew... I cant actually say if Im doing this in any order the only thing I've really done is first the divisions between levels, and then everything else.. whatever I feel like, in no specific order. I sew, take a break and use the paint to add detail, sew with the yarn, for thicker lines...
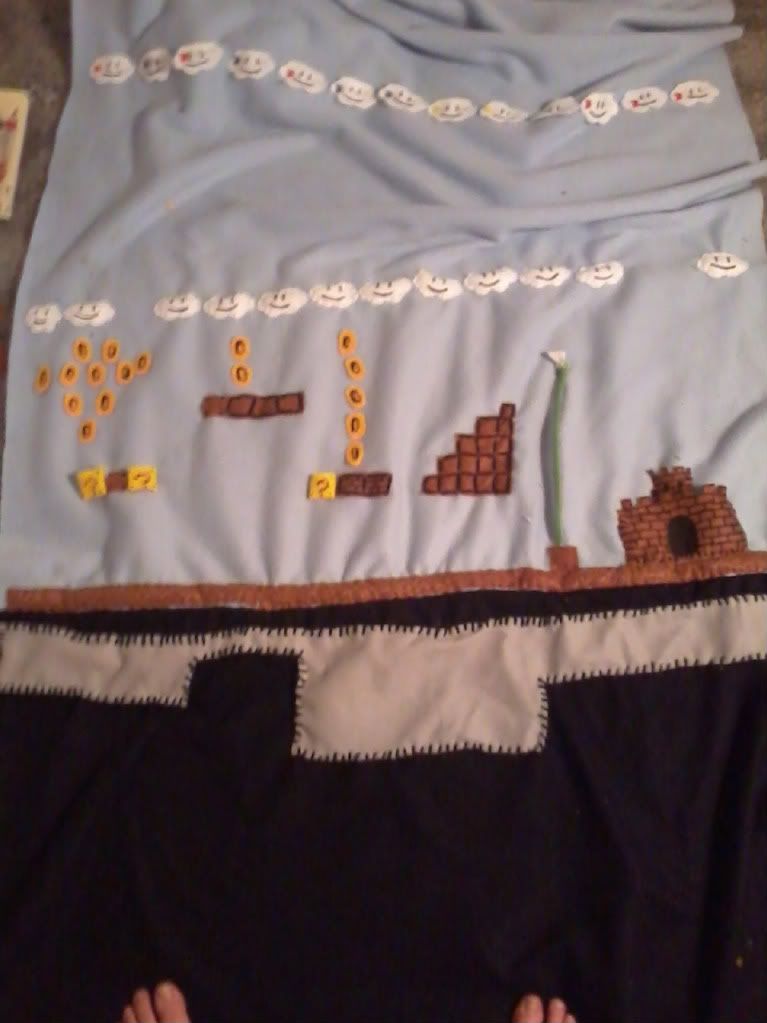
 Right now Im still working on it, but this is what I have so far: 
 Ill keep you posted on this one project, and I hope I inspire you to do something too!