21.6.11

OMG MORE PLUSHIES!

I have been making plushies.. Oh so many Plushies! So i have decided to dedicate this post to teaching you how to make them!
Now first you need a few things:
Felt
Needles
Glue
Scissors
Ideas

Ok! so now you have some felt colour and you wanna make something! First you'll need a pattern! 
Here are a few good ones!

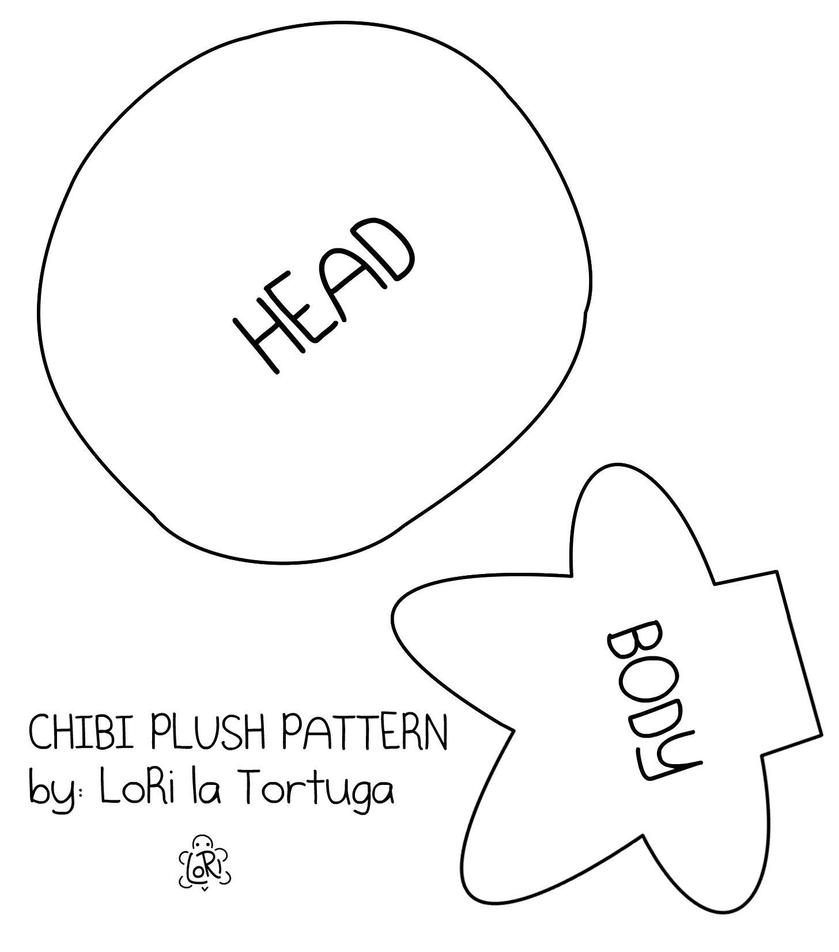
This is the pattern for a simple chibi plushie, nothing too big or too small.

Now, you take your pattern and use it to cute out the same shape in the cloth, then you sew it and flip it inside out. Then just stuff it and sew the body together and you are done!

Ok now you have a body, what do you do?
I find that clothing and hair go next. depending on your choice clothing will be easier or harder. Sometimes I find that making the body the same colour as the jeans you want your character to wear is the best choice.
If not the i use the body to cut out the pattern for the clothes and I try as best I can to fit them  over my little plush.  This [link] is a pretty good tutorial on how to make plushie hair.
No once you are done with that work on the face, do you want complicated detailed face or just simple eyes?  What accessories doe the character have? a staff?  a necklace? I keep a few random items (play dough, wire, paint) at hand to make such things.
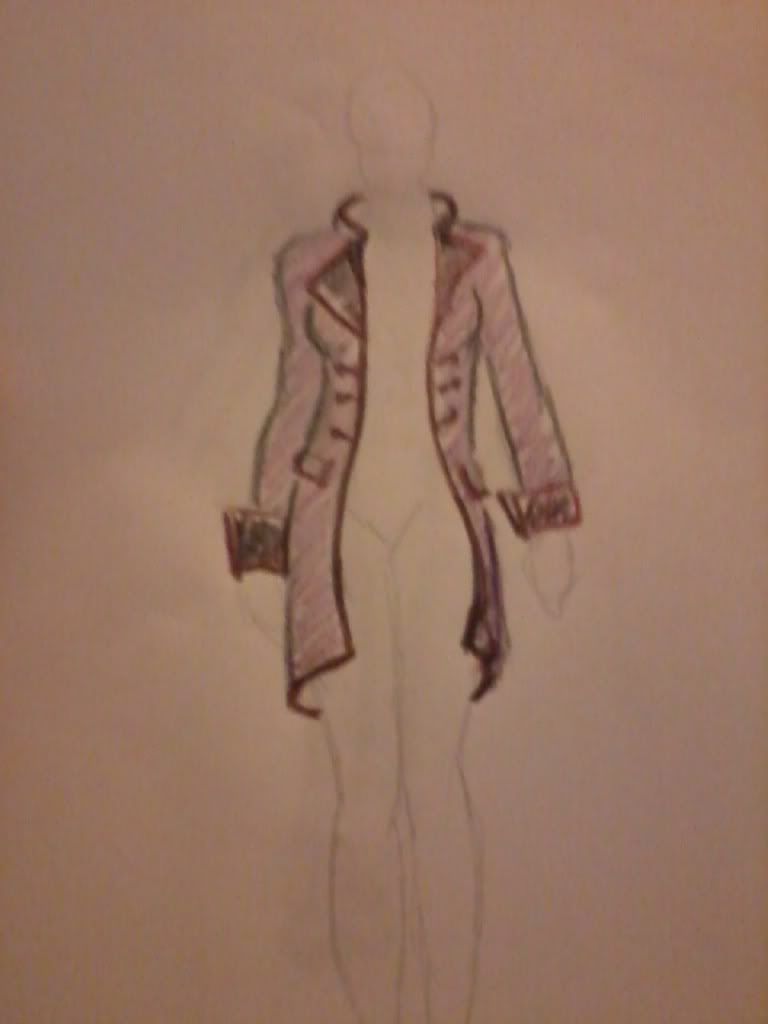
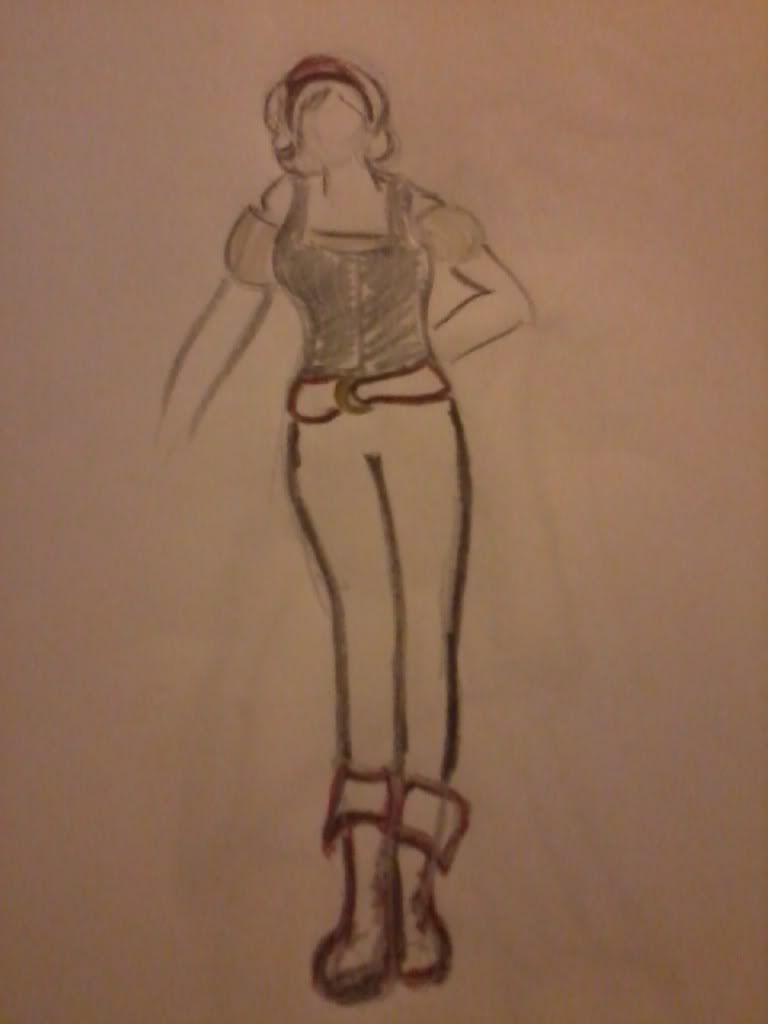
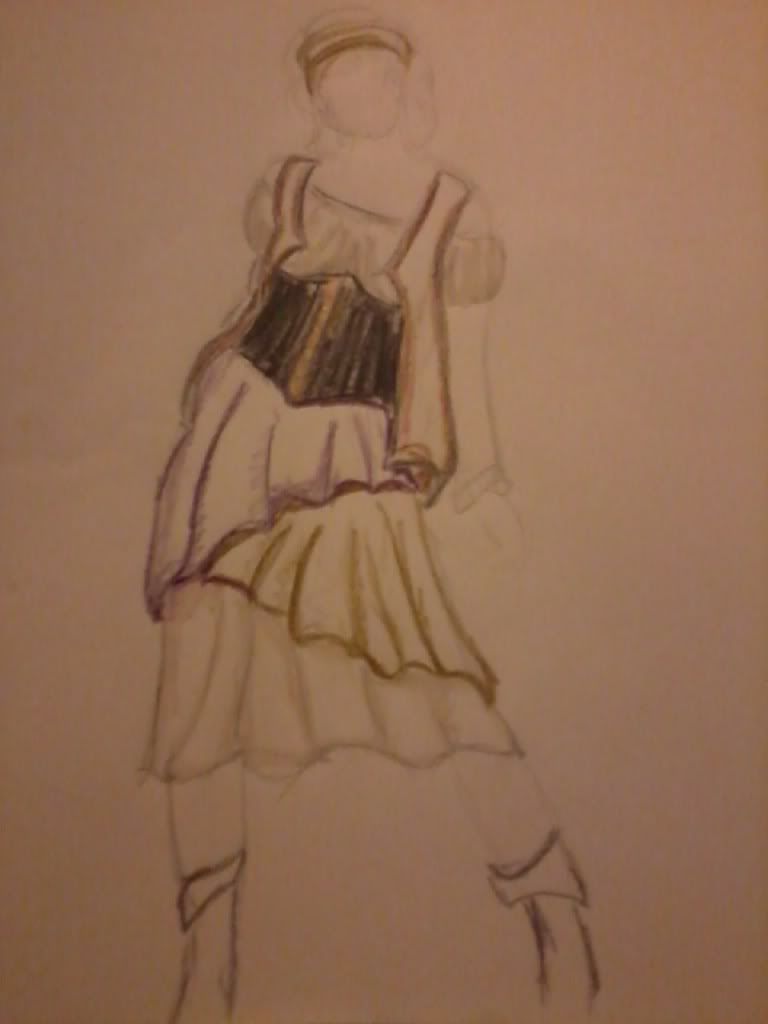
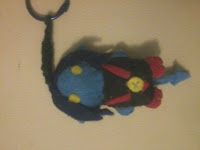
This is a simple explanation, I'll be adding pictures later but for now ill just show you a few that I've made and then add some better ones for each step.


13.6.11

I FINISHED IT!!!!!

FINALLY!  I just finished the Mario quilt that I have been working on for so long. 4 Months of work, creating, destroying and everything I have done. This is the result of all of that work:

8.6.11

Adorable totoro plush: How To

I was bored and I wanted to make a plush, so I made a pattern for a Totoro plush.
This little guy is what came out of my random spurt of creativity. So if you wanna make him, here's the materials:
-A needle and thread
-Grey felt
-White felt
-Glue for cloth
-black paint for cloth, or acrylic paint
- green felt (optional)
- stuffing for plushies(or you can use the scraps of what you just made, which is what i did today)
-Scissors

SO, where do you start? 
Well I started by making a paper pattern, and using it to cut the felt. Here it is:

Click to enlarge

Using this, I cut out all of the felt pieces I needed (pictured up there with the materials). The first thing I did was make the ears, to do this you have to take the glue, smear it on one side of the ear and then roll it up, letting it glue together. the little tabs on the pattern let you stitch
it and sew it into the body. Here are a few pics of what I mean:

Roll up
Put glue on

I glued them to the body to hold them while I sew
Once you are done with that you can start sewing. Now the stitch I'm using, well, I'm certain it has a name, but I do not know it, so Ill show you how to do it as best I can, and hopefully you'll understand.

Now you start with a basic stitch, but just as you are about to pull through, instead of going through completely, you slip you needle through it, as if to make a knot. You pull and go to the next one. So basically you keep going through it, making a knot with each stitch. It makes a pretty edge and allows  you to sew without having to turn anything inside out.


The tail; I wasnt worried about the stitch showing.


Once you are done with the body you stuff it and sew on the little bottom. Next you sew on the arms and the tail and finally the belly.
Use the glue to glue on the eyes  and leaf on the head and then use the black paint to make his nose and eyes.

And there! you're done :D
Now mind you written down this seems very simple. In reality it will take you a little while and lots of things change. For example the bottom of the pattern that I originally made got shortened because once the plush was full I noticed the size changed.   

See, he loves you~


2.6.11

Pirates Pirates Pirates!!!

A few days ago, I went to see Pirate of the Caribbean 4 and I fell in love. Not in love with Johnny Depp (who is quite sexy), not in love with Penelope Cruz (Who is also incredibly sexy). Oh no.  I fell in love with the wardrobe!! Oh You have no idea how much I wanted to wear EVERYTHING Penelope Cruz was wearing. In any case, I began Planning the Minute I got home, I wanted to take her wardrobe from the movie and adapt it to a style that I could wear. I decided on three outfits. A dress (though it ended up more as a top and skirt combo). A shirt, and a coat.

First the coat:
This is my version of the coat that she wears in the movie. I haven't changed much, only adjusted it slightly the buttons are something I'm still working on , but  I'll work it out better when begin the actual pattern.


Next comes the top:
this is a simple vest and a white undershirt. It will go with tight pants, probably leggings and some nice boots. I need a rather large belt as well and a bandana to top it off. The only thing I'd be making right now is the vest.


And finally the 'dress':
The dress incorporates the vest, its got to be a heavy fabric, I'd use floral or lace pattern probably. The and underbust corset with a lace front. and finally an uneven layered skirt, alluding to a typical wench skirt, but I want it to drape more.


Now I'm no expert in fashion or design in any way, so this is me just starting to make my own patterns... but SO far, this is definitely what I wanna try out next :)


Keep Your days in order!

I have created a calendar based on the Life Calendar concept.  you get to draw an image for every day that is pictured. Now As much as I like it, its a bit too big and too small. It has all of the days of the year, so too big, and its little images are just too small to add anything... so I made my own version, and of course, added my own touch to it!

Here is a picture of me actually using it:
Why is this so much fun...